Welcome to Foxit eSign installation. Please follow the below steps to continue
Super Admin's steps
Generate App only Client Id and Client Secret for Sharepoint. Follow below steps to generate Client Id and Client Secret .
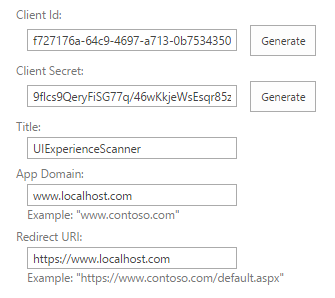
Navigate to a site in your tenant (e.g. https://contoso.sharepoint.com) where contoso is your tenant name and then call the appregnew.aspx page (e.g., https://contoso.sharepoint.com/_layouts/15/appregnew.aspx). Please click on the Generate button on the below page to generate a client id and secret and fill in the remaining information, as shown in the screenshot below.
The next step is granting permissions to the newly created principal. Since we’re granting tenant scoped permissions, this can only be done via the appinv.aspx page on the tenant administration site. You can reach this site via
https://contoso-admin.sharepoint.com/_layouts/15/appinv.aspx.
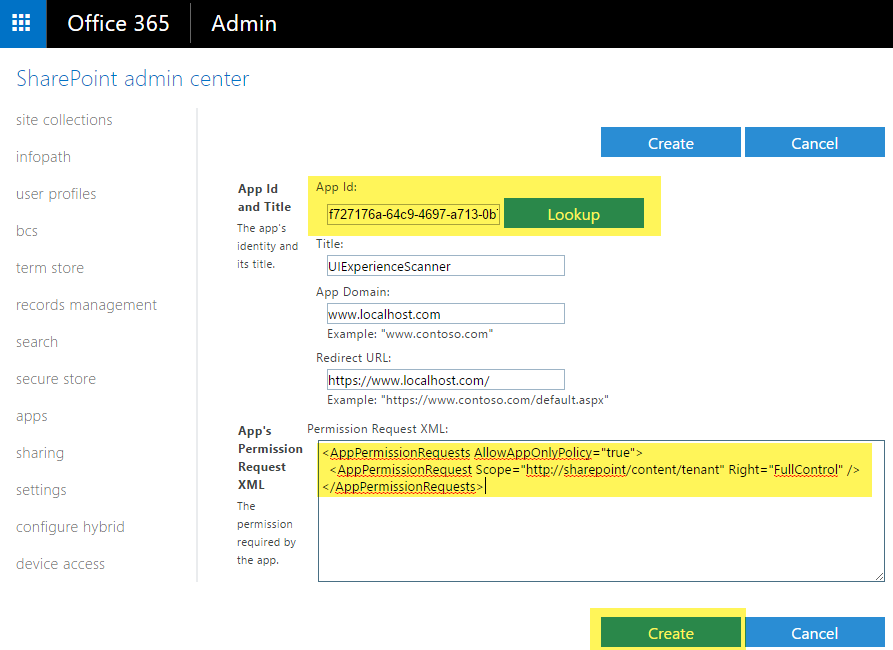
Replace Contoso with your tenant’s name. Once the page is loaded, add your Client ID, and look up the created principal::
To grant permissions, you will need to provide the permission XML that describes the required permissions. Since this application needs to be able to access all sites + also uses search with app-only, it needs the below permissions:
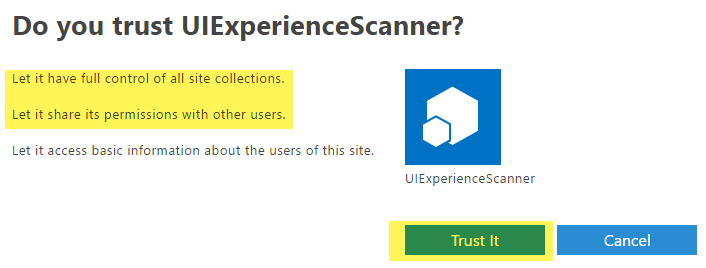
You’ll be presented with a permission consent dialog when you click on Create button. Press the ‘Trust It’ button to grant the permissions:
Get
App Catalog URL for SharePoint tenant. Follow the Below steps to get the App Catalog URL
Navigate to your Tenant Administration site, usually located at https://contoso-admin.sharepoint.com
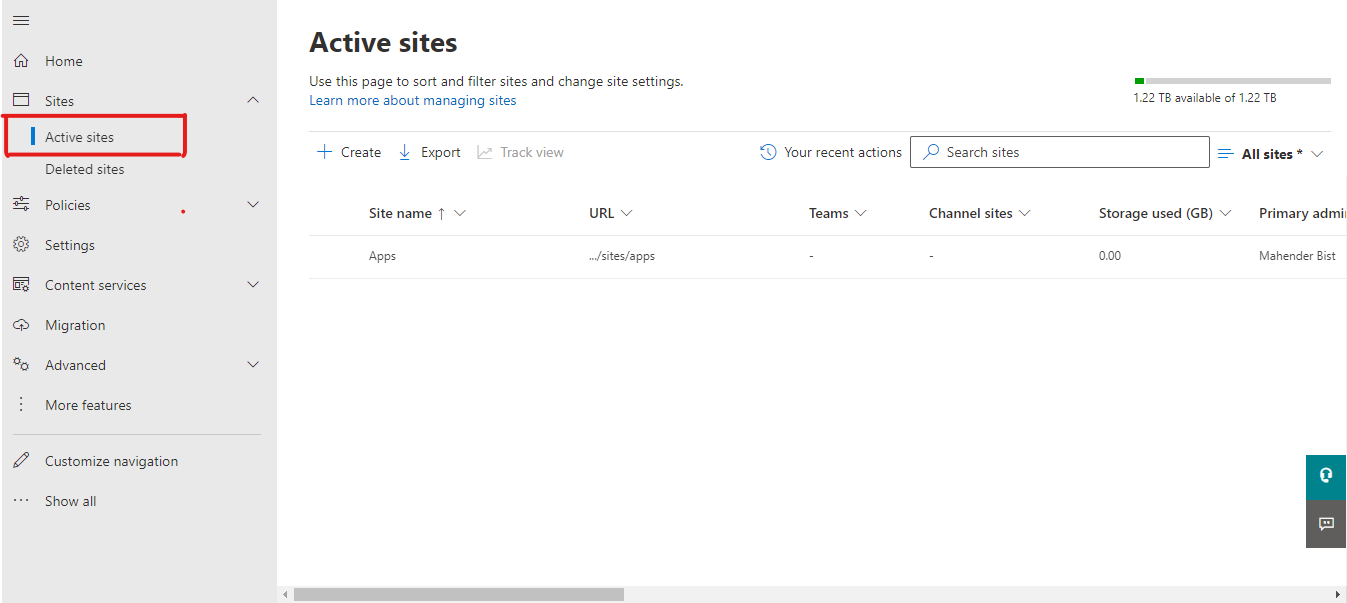
Click on “Active Sites” under "Sites" in the left navigation
Click on the “Template” in table header and select "Filter by Template" option.
Select "App Catalog Site" from the popup appeared after selecting "Filter by Template". It will give you link of app catalog site.
Installation steps
The installation process starts with Authentication with Foxit eSign Account. You will be redirected to the Login screen from Foxit eSign as below. Enter your account Username(Registered email id with Foxit eSign) and password:
Click on 'Sign In' button.
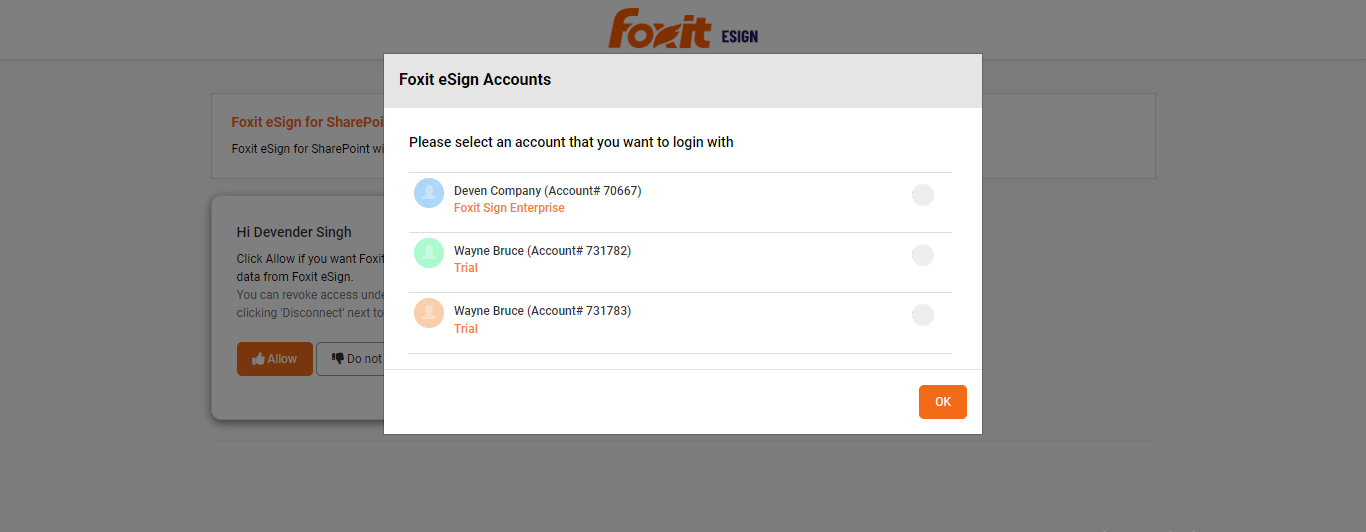
After signing in, you need to select account you need to login with.
Select any account and Click on 'OK' button
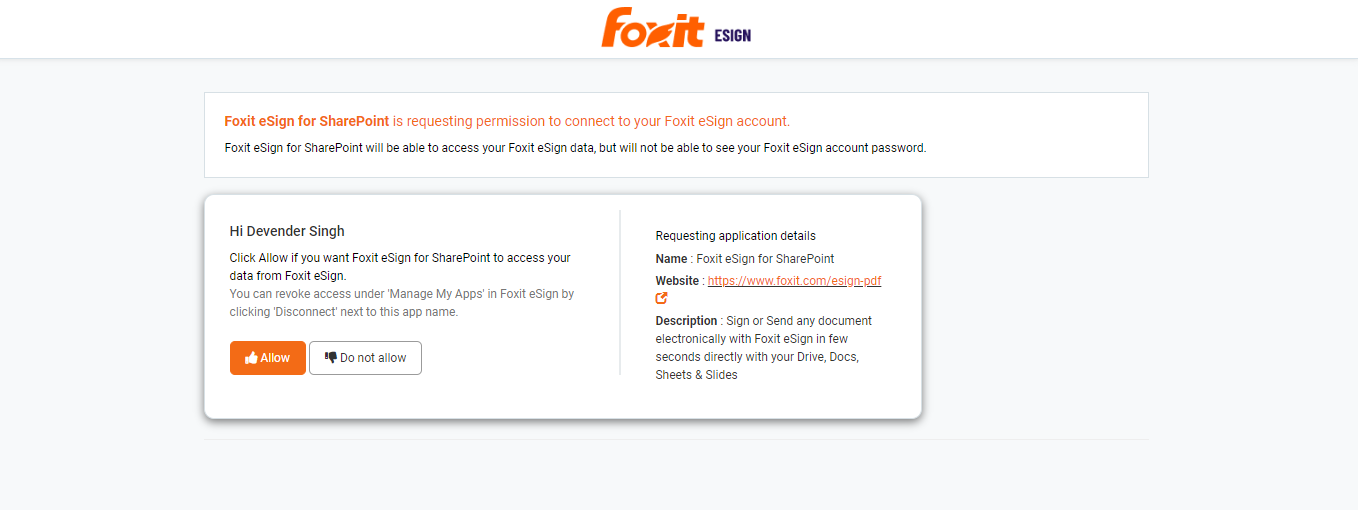
After selecting account, you need to provide Permission for your account by clicking on the ‘Allow’ button on the below screen.
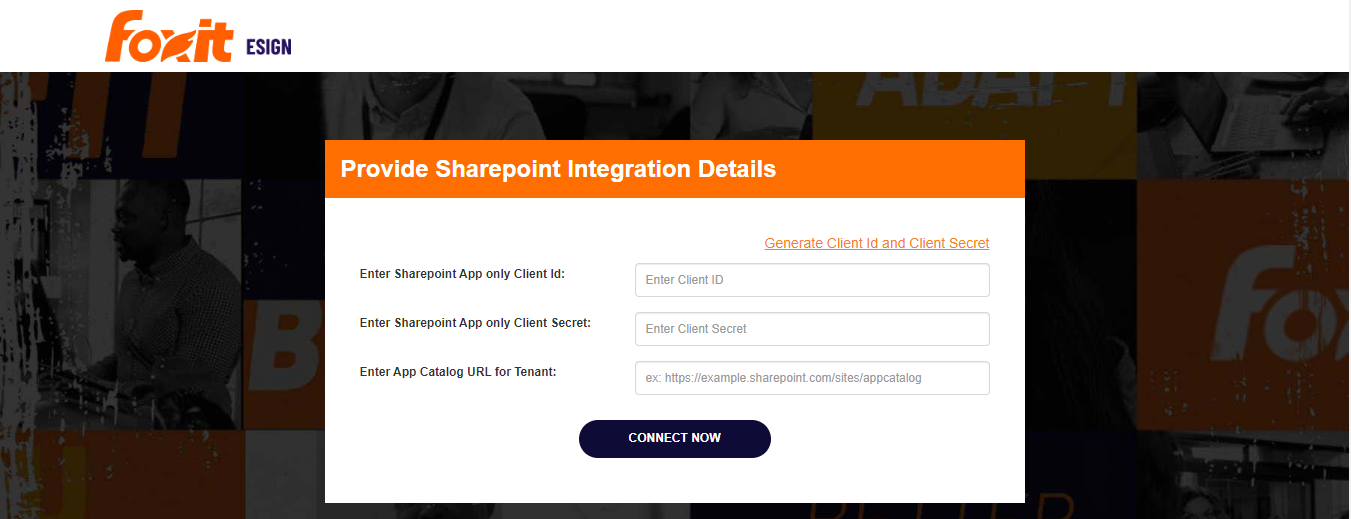
After allowing permissions, you will be redirected to the Details screen, where you must provide Sharepoint Client Id and Secret generated in the very first step. Additionally, provide an App Catalog Url and click on "Connect Now" button.
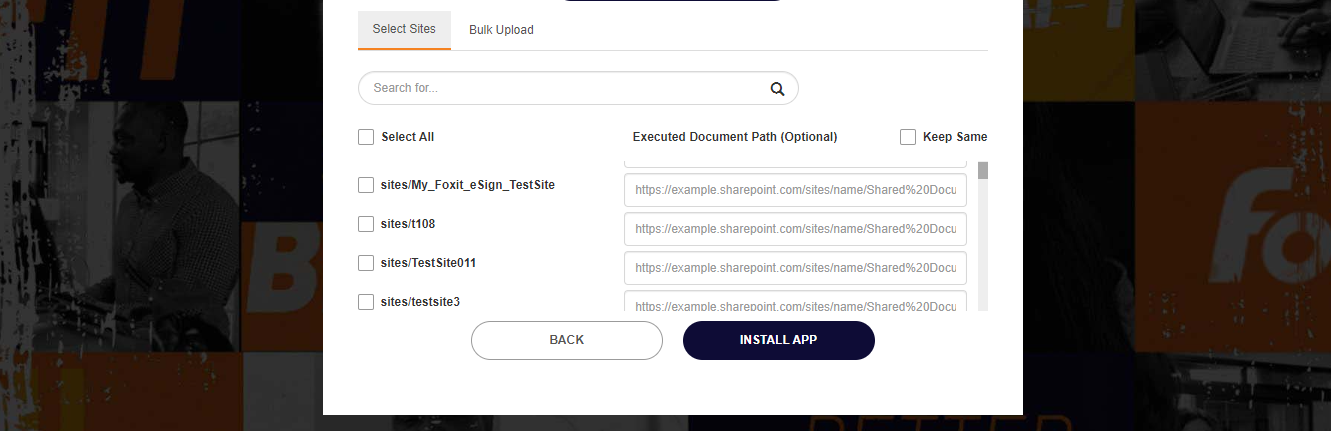
After successfully validating Client Id and Client Secret, you will be shown list of sites to which you want to integrate the app. Additionally, you can use "Bulk Upload" option to upload excel containing site links.
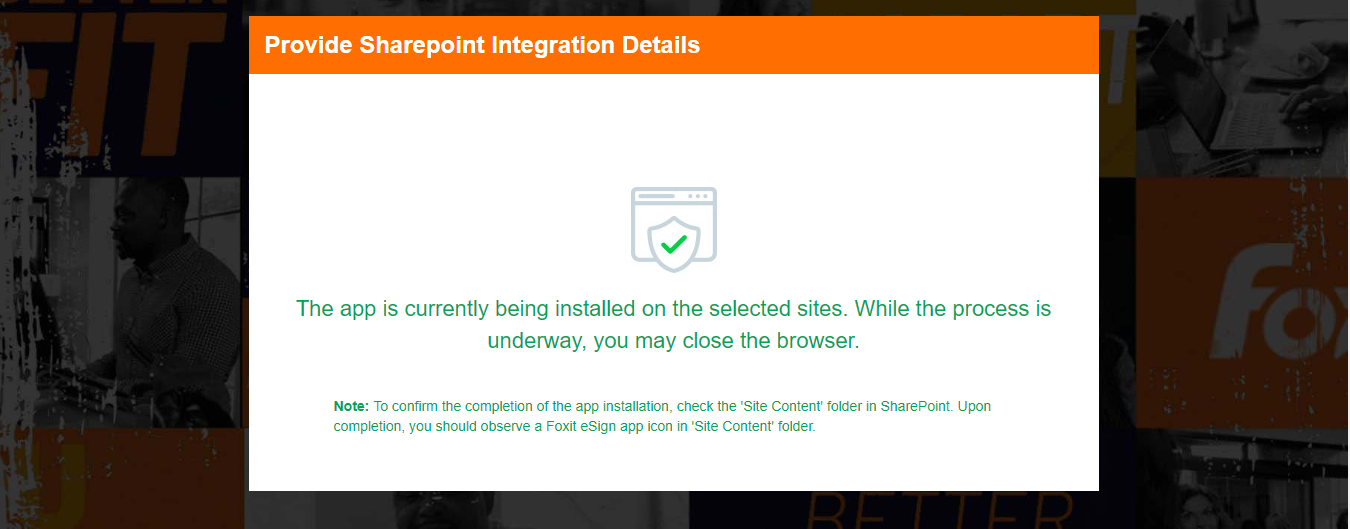
Once you ‘Submit’ your details, installing the app on your mentioned sites will take a few minutes.
Once installation starts successfully, you will get the below screen.